")
Building your own furniture can be a rewarding project, and learning how to make a basic table is a perfect starting point for beginners. With simple materials like wood planks and basic tools, you can create a sturdy, functional piece that fits your space perfectly. This guide walks you through each step, from gathering materials to applying the final finish, making table construction accessible even if you’re new to woodworking.
What are the essential steps to make a basic table?
Learning how to make a basic table involves understanding that a simple table consists of just two main components: a tabletop and four legs connected by aprons or supports for stability. The basic components of a simple table include these fundamental parts that work together to create a functional piece of furniture.
The construction process follows several key phases. First, you’ll need to prepare your materials by cutting the tabletop and legs to size. Next comes the assembly phase where you join these components using screws, dowels, or brackets.
Finally, you’ll apply finishing touches like sanding and sealing to protect the wood and enhance its appearance. This straightforward approach makes table building accessible even for beginners with basic woodworking skills.
Tools and Materials Needed for Table Construction
Before starting your project, gather the essential tools that will make your work easier and more precise. You’ll need a circular saw for cutting materials, a drill for making holes and driving screws, and clamps to hold pieces together during assembly.
Don’t forget measuring tools like a tape measure and pencil for marking cuts and positions. A doweling jig or pocket hole jig will help create strong, professional-looking joints between components.
For materials, choose a plywood or solid wood board for your tabletop. While 1/2 inch thickness works, we recommend going thicker for better durability and appearance. Your legs can be made from wooden planks or dowels, depending on your preferred style and the tools available to you.
Safety equipment is crucial too. Always wear safety goggles and gloves when cutting or drilling to protect yourself from wood chips and splinters.
How to make a basic table: A detailed step-by-step guide
Preparing the Tabletop and Legs
Start by measuring and cutting your tabletop to the desired dimensions. Sand the surface with 80-grit sandpaper first, then progress to 220-grit for a smooth finish. This preparation step is critical because it’s much easier to sand individual pieces before assembly.
Next, cut your four legs to identical lengths. We advise double-checking these measurements since uneven legs will create a wobbly table. If you want tapered legs for a more elegant look, mark your taper lines and cut carefully with your saw.
Mark the positions of the legs accurately on the underside of your tabletop. Use measurements from the tabletop edges and corners to ensure perfect alignment. Most builders place legs about 2-4 inches in from each corner, but you can adjust this based on your design preferences.
Joining the Components and Finishing Touches
Before attaching anything permanently, we recommend pre-drilling pilot holes to prevent the wood from splitting. This extra step takes a few minutes but can save you from costly mistakes and cracked wood.
Attach the legs to the underside of the tabletop using your chosen method – screws, brackets, or dowels. Make sure each leg sits perpendicular to the tabletop surface. Check this by using a square or simply eyeballing it from multiple angles.
Test the stability of your assembled table by checking for wobbling. If you notice any movement, adjust the leg positions or tighten the connections. Adding corner braces between legs can provide extra structural support if needed.
Apply your chosen finish after a final sanding. Whether you prefer stain, paint, or a clear sealant, clean the surface thoroughly before application. Oil-based finishes typically provide the best protection for furniture that will see regular use.
Tips for a Successful Table Build
Taking your time during each phase will result in a much better finished product. Rushing through measurements or skipping the sanding process often leads to disappointing results that are hard to fix later.
Here are the most important tips we’ve learned from building numerous tables:
- Always measure twice and cut once to avoid wasting materials
- Use clamps to hold pieces in position while marking or drilling
- Keep your workspace organized with tools within easy reach
- Test fit all components before applying glue or driving screws
- Work in a well-lit area to spot potential problems early
Gluing joints is optional but can significantly increase the strength of your table. Just remember that glued joints are permanent, so make sure everything aligns perfectly before the adhesive sets.
We suggest watching instructional videos for visual reference, especially if you’re new to woodworking. Seeing the techniques in action helps clarify any confusing steps in written instructions.
Common Mistakes to Avoid When Making a Table
One of the most frequent errors is mismeasured leg positions, which creates an unstable or lopsided table. Always double-check your measurements and use a consistent reference point when marking positions.
Skipping pilot holes might seem like a time-saver, but it often leads to split wood and weakened joints. This is especially important when working with hardwoods or thin materials that split easily.
Improper joint alignment causes both structural and aesthetic problems. Take time to ensure each connection is square and tight. A wobbly table isn’t just annoying – it can be unsafe and will wear out faster than a properly built one.
Neglecting surface preparation is another mistake that affects the final appearance. Rough, unsanded surfaces show every flaw and won’t take finish evenly. The extra time spent sanding pays off in professional-looking results.
Variations in Table Design: Customize Your Table
Once you’ve mastered the basic technique, you can explore different materials and design elements. Consider using metal brackets for an industrial look, or experiment with different leg shapes like turned spindles or angled supports.
The tabletop offers numerous customization opportunities too. You might add decorative edge treatments, inlay different wood species, or even incorporate non-wood materials like tile or glass inserts for unique visual appeal.
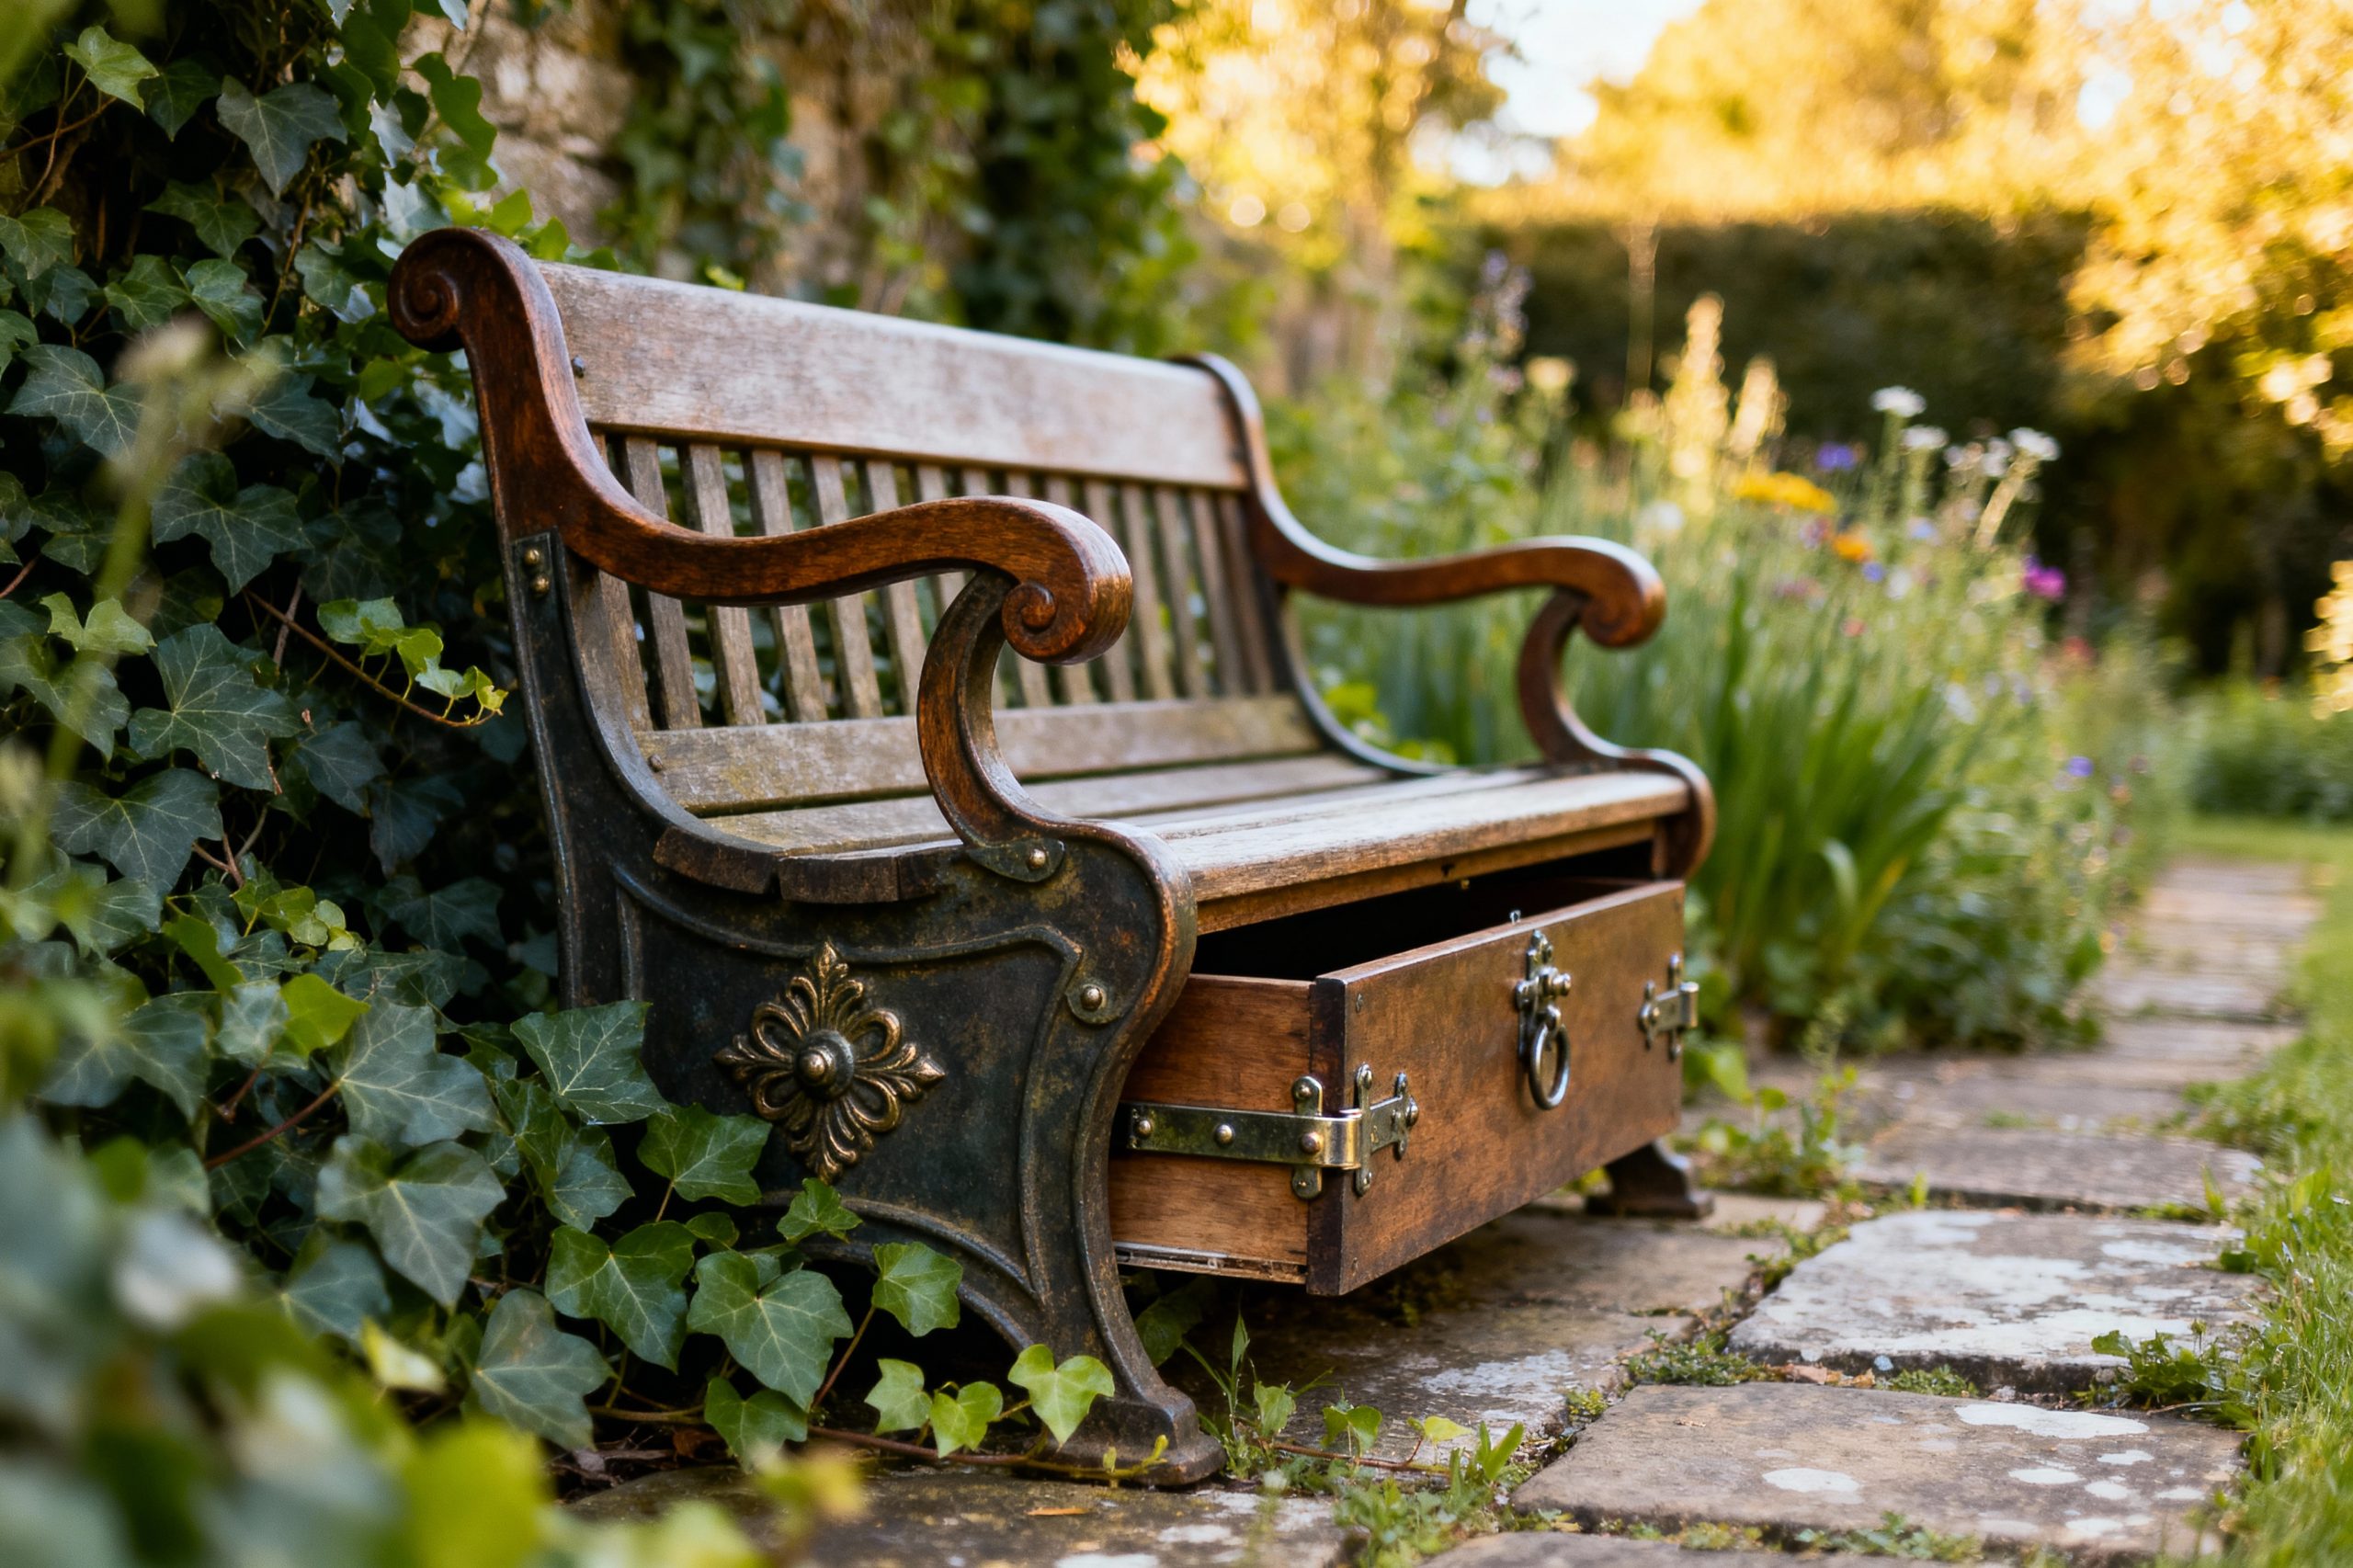
Functional additions can make your table more versatile. Simple modifications like adding a lower shelf between the legs or installing small drawers can dramatically increase the table’s usefulness without complicating the basic construction process.
Color and finish choices let you match your table to existing furniture or create a striking accent piece. From natural wood tones to bold painted finishes, the possibilities are nearly endless once you understand the fundamental construction techniques.
Frequently Asked Questions
What are the essential components of a table?
The essential components of a table include a tabletop and four legs. These parts are interconnected by aprons or supports which provide stability and functionality to the furniture.
How do I create a basic table?
To create a basic table, start by choosing a tool such as a word processor or a spreadsheet. Then, define rows and columns, enter your data, and format headers for clarity.
How can I format a table for clarity?
You can format a table for clarity by adding borders, alternating row colors, and properly aligning text within cells. These adjustments enhance readability and improve the overall presentation.
What tools and materials do I need for table construction?
To construct a table, essential tools include a circular saw, drill, clamps, and measuring tools. Materials like plywood or solid wood boards are recommended for the tabletop, with safety gear essential to protect during the process.
What common mistakes should I avoid when making a table?
Common mistakes to avoid when making a table include mismeasuring leg positions, skipping pilot holes, and neglecting surface preparation. Ensuring precision in these areas will lead to a stable and visually appealing final product.
What tips can help ensure a successful table build?
To ensure a successful table build, take your time with measurements, use clamps for stability, keep your workspace organized, and test fit all components before permanently attaching them. Good lighting can also help spot potential issues early.

John has been passionate about furniture and interior design for over a decade, combining his love for vintage pieces with modern styling techniques. After years of helping friends transform their spaces and restoring countless furniture finds, he started this blog to share his expertise and inspire others to create homes they truly love. When he’s not writing or hunting for unique pieces at estate sales, you’ll find him refinishing a mid-century dresser or experimenting with new room layouts in his own ever-evolving home.